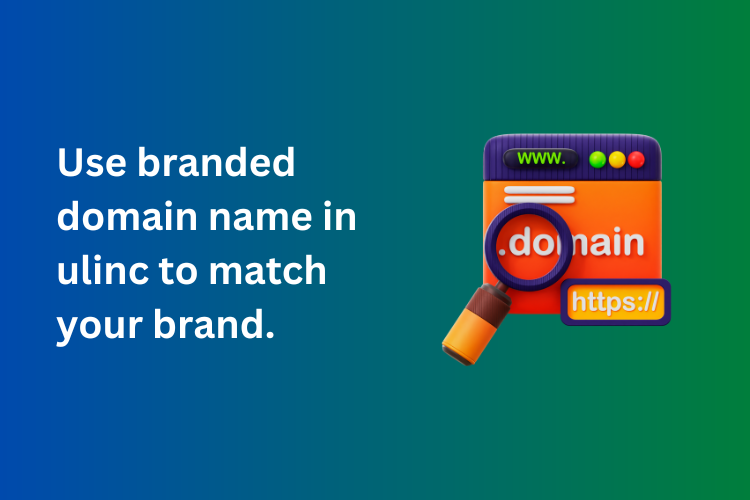

In today's digital world, every business — whether big or small — is trying to stand out online. One of the easiest and smartest ways to build trust and professionalism is by using a branded domain name when sharing links. And that's exactly where Snipit comes in.
Snipit is a powerful and easy-to-use URL shortening service that allows you to not only shorten long and messy URLs but also use your own brand name in the links. Imagine sharing a link that looks like this:
👉 snipit.in/summeroffer or even better 👉 yourbrand.in/sale2025 — instead of something like bit.ly/3Xy9z0#@.
Looks clean, right? More importantly, it builds trust among your audience.
In this article, let’s understand how you can set up your branded domain name with Snipit and use it to create professional-looking custom URLs.
💡 What is a Branded Domain Name?
A branded domain name is a custom domain that matches your business or brand name, and you use it to create short links. So instead of sharing a generic Snipit URL like snipit.in/xyz123, you can share something like mybrand.in/offer. It’s still powered by Snipit in the background, but the world only sees your brand.
🚀 Why Use a Branded Domain?
Using your own branded domain with Snipit gives you multiple benefits:
✅ Better Branding – Every link reflects your business identity
✅ More Trust – People are more likely to click a link that includes your business name
✅ Higher Click Rates – Clean, clear links get more attention
✅ Full Control – You decide what your links look like
✅ Consistency – Perfect for sharing across social media, emails, WhatsApp, etc.
I was promoting my personal blog on Instagram. Initially, I used default Snipit links likesnipit.in/blog123. Later I switched to my own domain —vinaywrites.in/tips. My audience started trusting the links more, and my click rates increased by 40% in just one week!
🛠️ How to Set Up a Branded Domain with Snipit
Follow these simple steps to connect your own domain to Snipit:
1. Buy a domain name
If you don’t already have a domain, you can buy one easily from popular sites like:
Try to choose a short and brand-matching domain name like yourbrand.in, getabc.com, etc.
2. Set up DNS (CNAME Record)
Once you have the domain:
- Go to your domain registrar’s DNS Management section
- Add a CNAME record
- Point your domain (e.g.,
links.yourbrand.in) tocname.snipit.in(or the value Snipit provides) - Save changes and wait a few minutes for it to update globally
Don’t worry if this sounds technical — domain support teams usually help with DNS updates for free.
3. Register your domain in Snipit
- Log into your Snipit account
- Go to Settings → Branded Domains
- Enter your custom domain name (e.g.,
links.mybrand.in) - Click “Register Domain”
- Once verified, it’s ready to use!
✨ How to Create Custom URLs Using Your Branded Domain
Now that your domain is set up, creating branded short links is super easy:
- Go to the URL Shortener section in your Snipit dashboard
- Paste the long URL you want to shorten (e.g., your product page or blog post)
- Type a custom short path (e.g.,
monsoon-deal,blog2025, etc.) - Click “Shorten” and your branded link is ready to use!
Your final link might look like:
👉 offers.yourbrand.in/monsoon-deal
You can now share this clean link anywhere — Instagram bio, Twitter, WhatsApp, or even business cards.
⚠️ Note About Snipit Plans
To use a branded domain name with Snipit, you’ll need to upgrade to the Enterprise Plan. This premium plan gives you access to features like:
- Branded domains
- Detailed analytics
- Custom redirect settings
- Link expiry
- And more advanced tracking tools
It’s worth the investment, especially if you're running ads, email campaigns, or social media promotions regularly.
🔚 Conclusion
Using a branded domain with Snipit is not just about shortening a link — it's about building your online identity, increasing clicks, and gaining trust from your audience. Whether you’re a startup founder, influencer, freelancer, or run an online store, this small step can make a big difference.
By following the simple steps above — buying a domain, connecting it through DNS, registering it on Snipit, and creating your custom links — you can start sharing your brand everywhere with confidence and style.
So next time you post your link online, ask yourself — "Does this link represent my brand?"
If not, switch to Snipit with your own domain and level up your presence.